WI# 1301 LAPTOP DELL
E5470
|
|
|
MANTENIMIENTO Y REPARACIÓN / MAINTENANCE AND REPAIR
Realice una inspección visual en busca de partes dañadas en caso de que encuentre algo dañado o quebrado reemplácelo.
Perform a visual inspection for damaged parts in case you find something damaged or broken replace it.
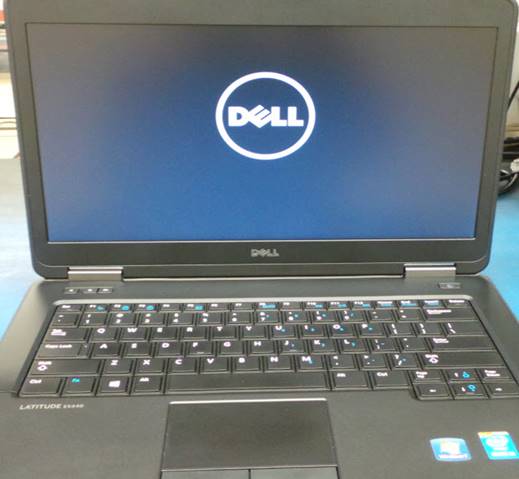
Encienda la unidad, presione la tecla F12 antes del inicio de Windows.
Turn the unit on, click on F12 key before Windows starts.
|
|
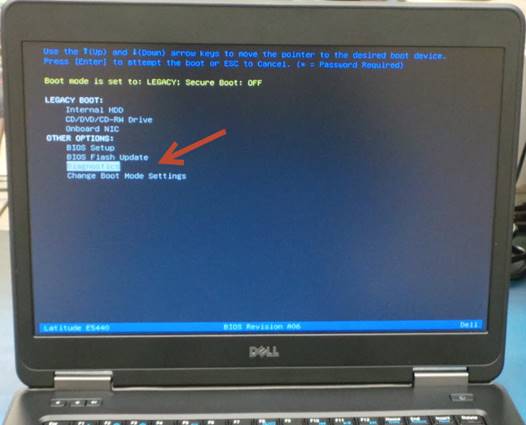
Cuando le aparezca la pantalla que se muestra en la siguiente imagen, seleccione Diagnostics utilizando las flechas en el teclado.
Select Diagnostics using the arrows on the keyboard.
|
|
La unidad ejecutara una serie de pruebas de auto-diagnostico, el tiempo aproximado de estas pruebas es de 1 hora. En caso de que aparezca un error reemplace el dispositivo causante del error.
The unit will run a self-diagnostic test, it will take about 1hour. If there are errors replace the device involved.
|
|
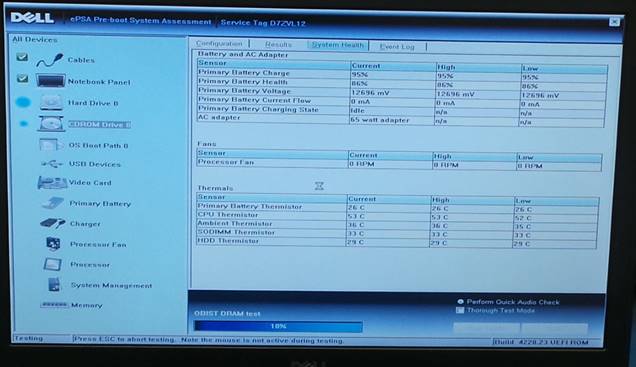
Al terminar las pruebas, en la pantalla aparecerá el siguiente mensaje indicando que la unidad pasó todas las pruebas. Seleccione OK y luego Exit.
Once all tests finished, the following message will appear on the screen indicating that the unit passed all the tests. Select OK and then Exit.
|
|

Apague la unidad y límpiela utilizando aire comprimido.
Turn the unit off and clean it using compressed air.
Desinstale la batería.
De-install the battery.
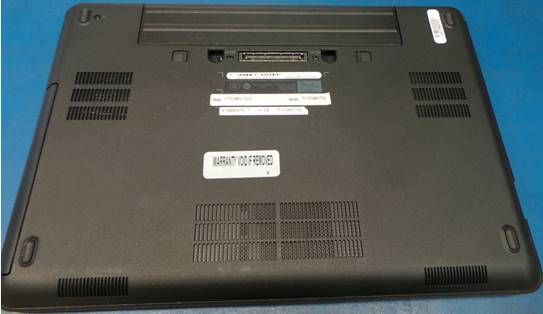
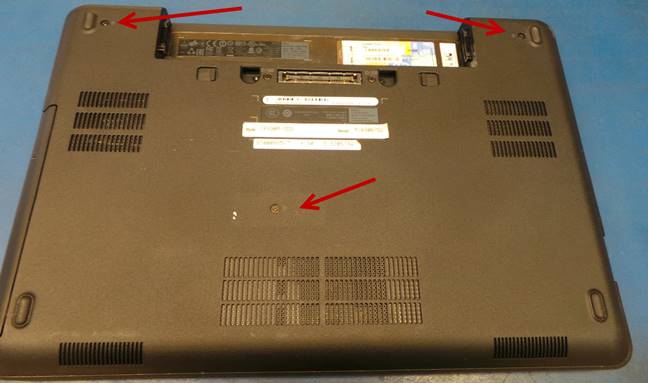
Desinstale la cubierta del disco duro retirando los 3 tornillos señalados en la siguiente imagen.
Uninstall the hard drive cover by removing the 3 screws indicated in the following image.
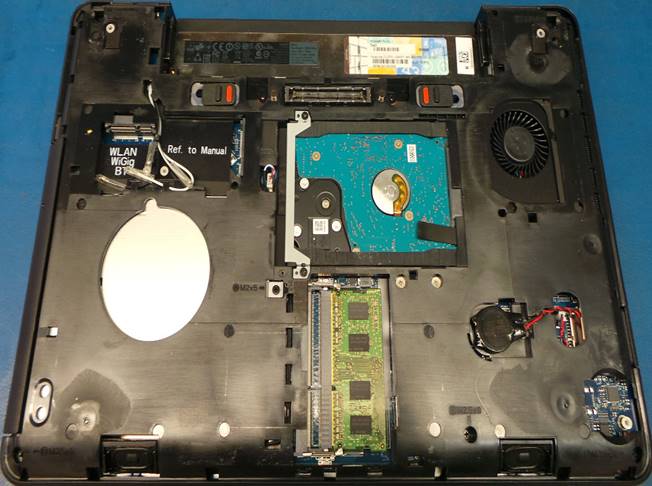
Utilizando aire comprimido retire todo el polvo y suciedad del abanico.
Using compressed air remove all dust and dirt from the fan.
|
|
Vuelva a instalar las cubiertas y encienda la unidad.
Reinstall the cover and close the unit.
Reinicie la unidad e instale la imagen o sistema operativo.
Restart the unit and install the image of operating system.
DESCARGA E INSTALACIÓN DE IMAGEN O SISTEMA OPERATIVO / IMAGE INSTALLATION OR OPERATING SYSTEM
Instale una memoria USB al puerto de la computadora.
Install a USB flash drive into the computer port.
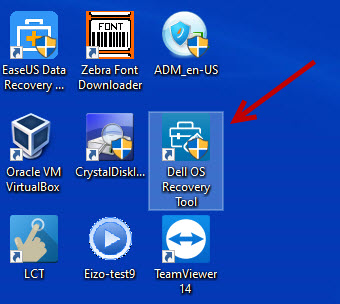
Ubique en el escritorio y ejecute el icono llamado Dell OS Recovery Tool.
Locate on the desktop and run the icon called Dell OS Recovery Tool.
Ingrese el Service Tag de la unidad.
Enter the Service Tag of the unit.
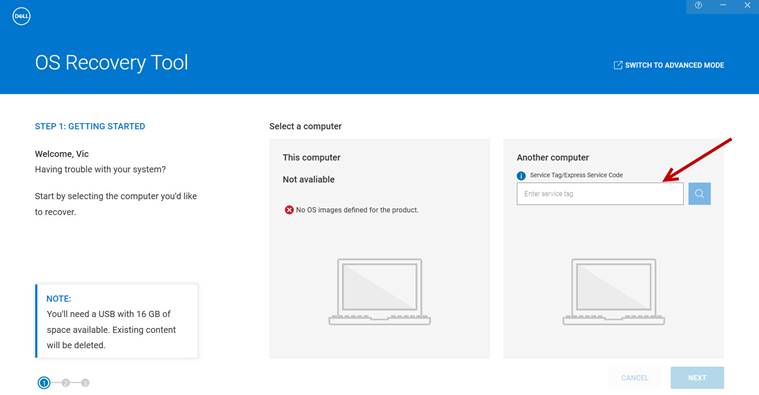
Seleccione buscar.
Select search.

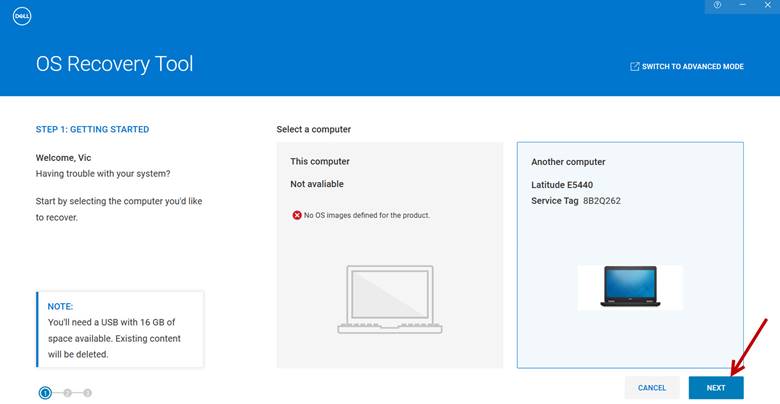
Seleccione – Select Next
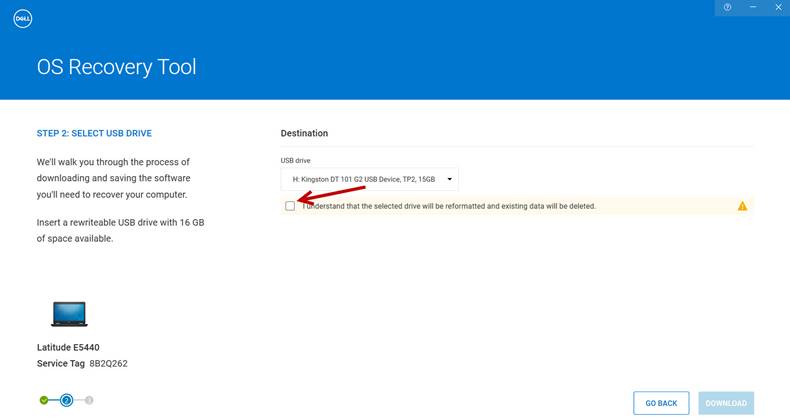
Marque la casilla señalada en la imagen:
Check the box indicated in the image:
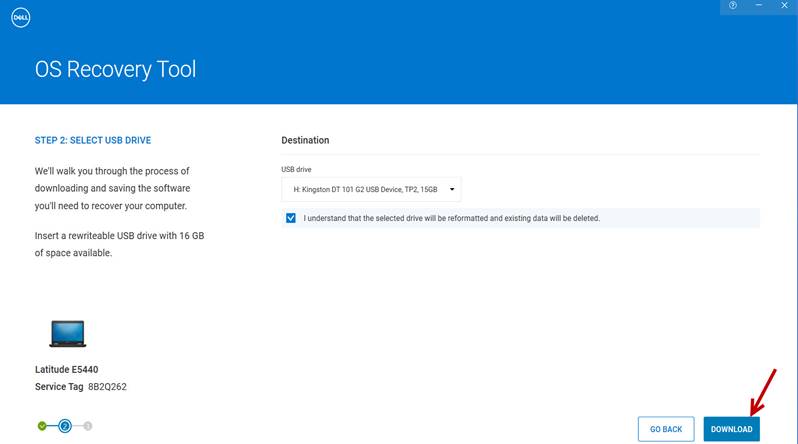
Seleccione – Select Download
Espere a que la imagen o sistema operativo sea descargado.
Wait for the image or operating system to be downloaded.

Seleccione – Select Close
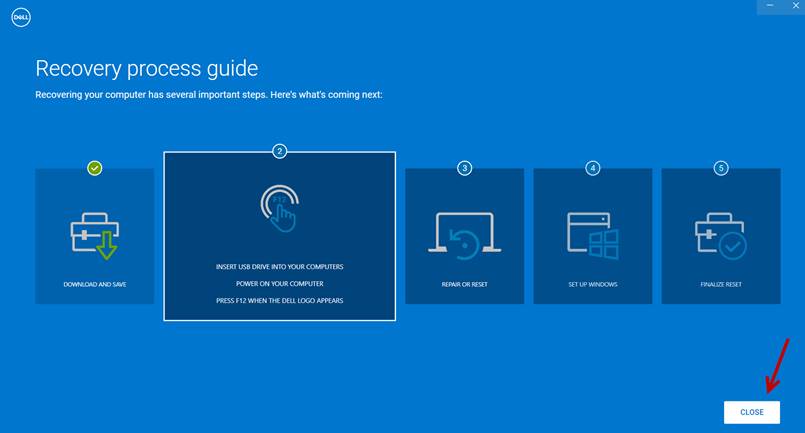
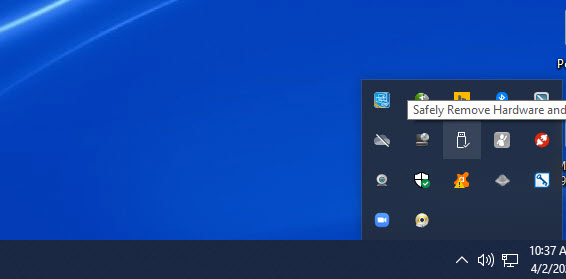
Expulse la memoria USB de forma segura.
Eject the USB memory safely.
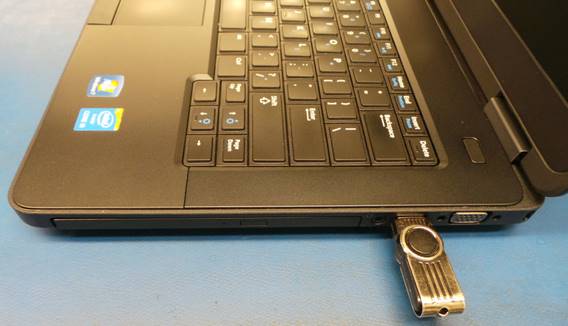
Instale la memoria USB en la unidad.
Install the USB memory into the unit.
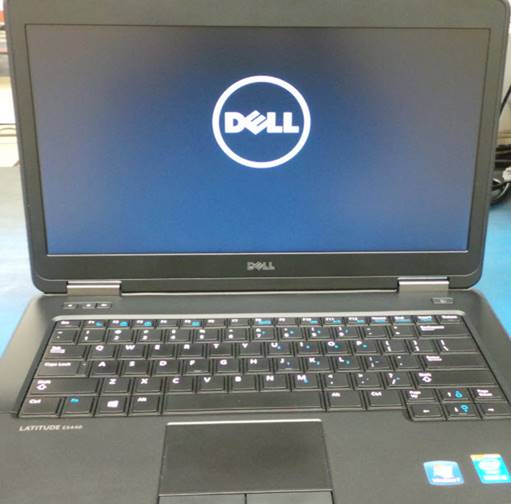
Encienda la unidad, presione la tecla F12 antes del inicio de Windows.
Turn the unit on and click on F12 key before windows starts.
|
|
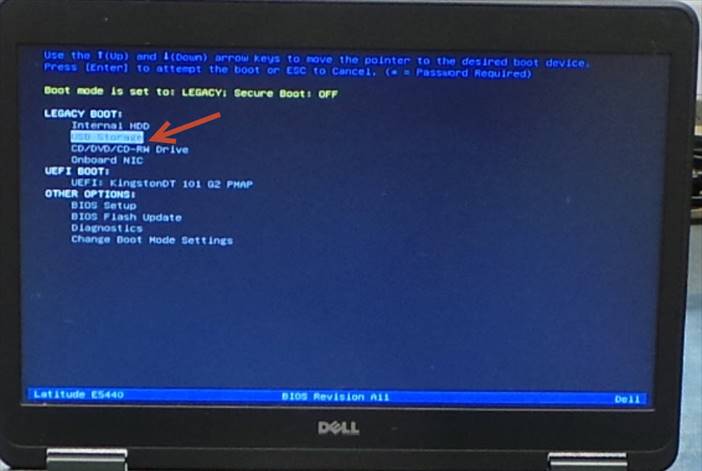
Presione F12 y seleccione USB Storage.
Press F12 and select USB Storage.
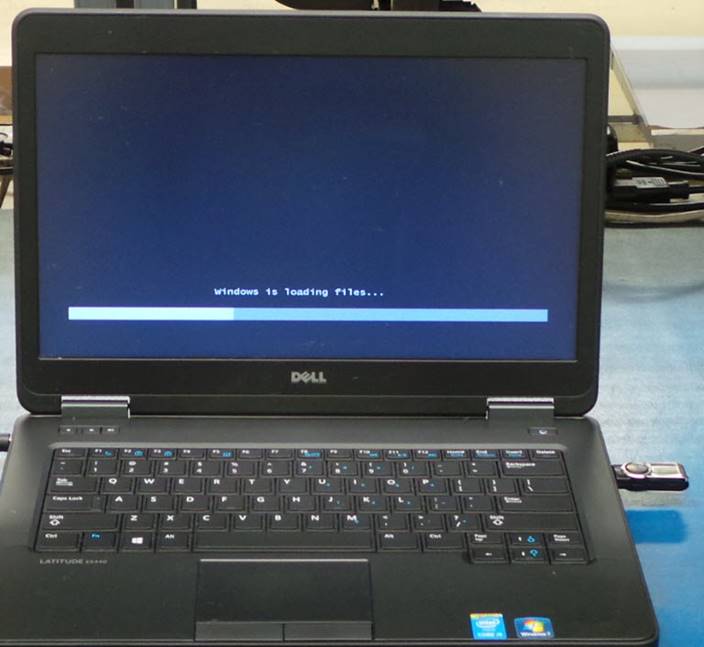
Comenzará el proceso de instalación del sistema operativo.
The operating system installation process will begin.
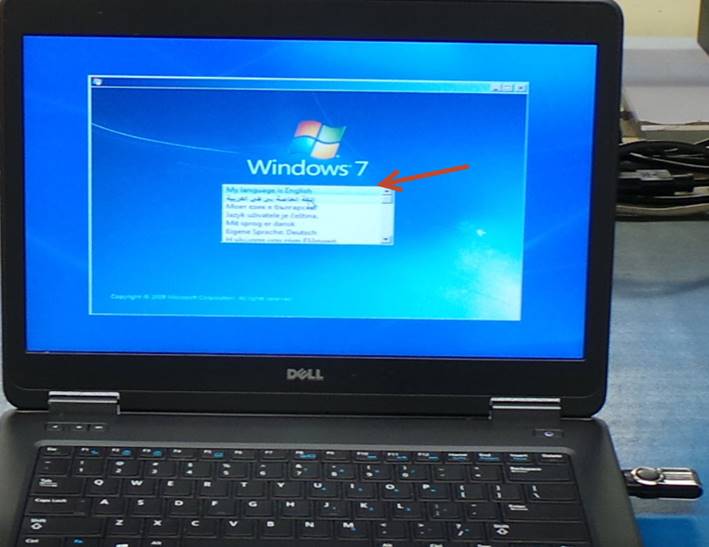
Seleccione – Select English
Seleccione – Select Next
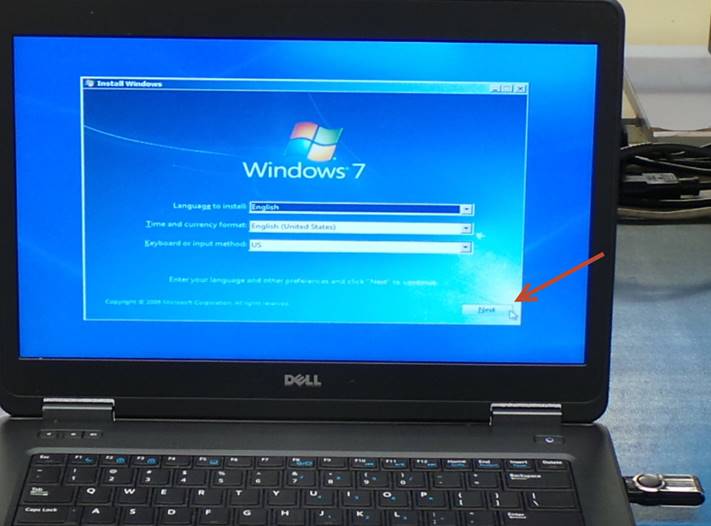
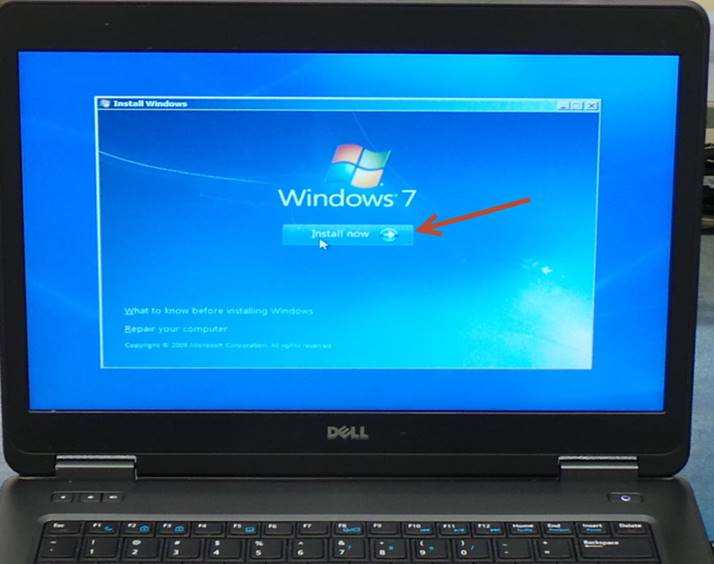
Seleccione – Select Install now
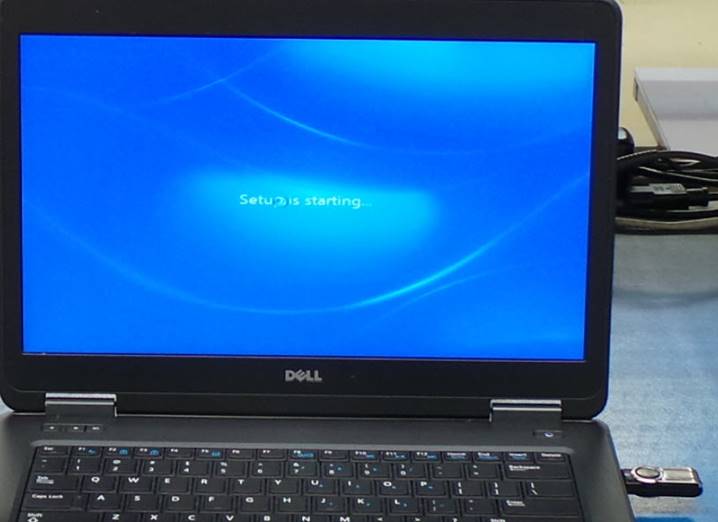
Continuara la instalación.
Installation will continue.
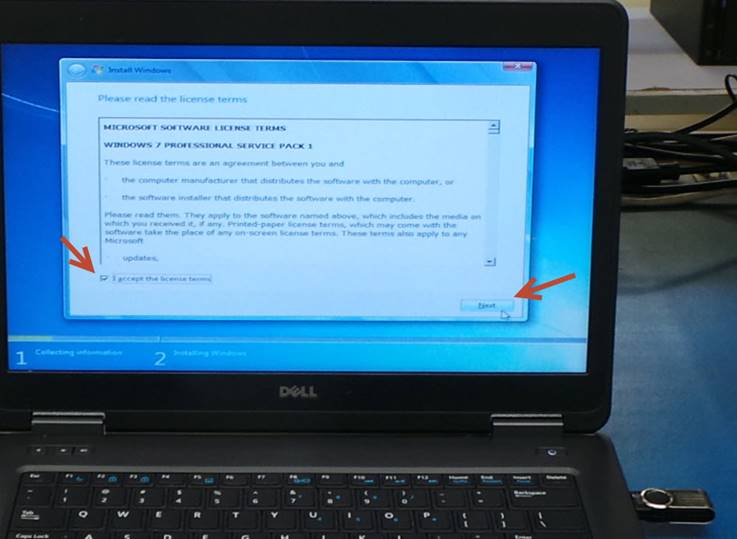
Marque la casilla y seleccione Next.
Check the box and select Next.
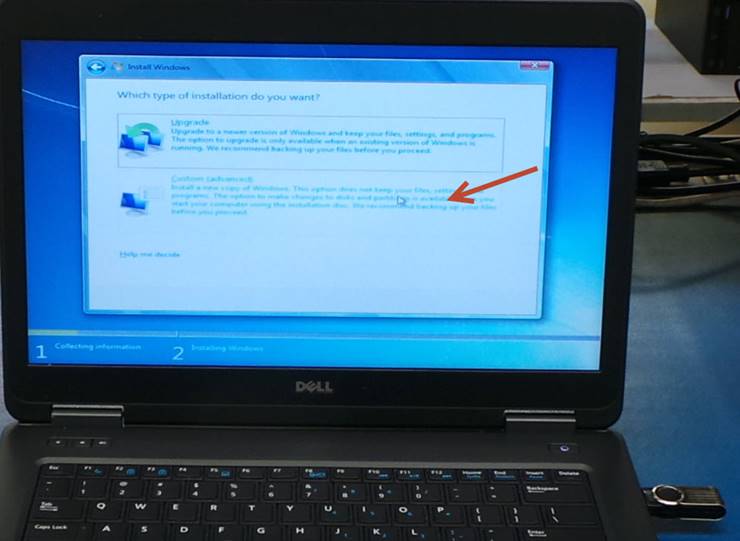
Seleccione – Select Custom (advanced)
Seleccione – Select Drive options (advanced)
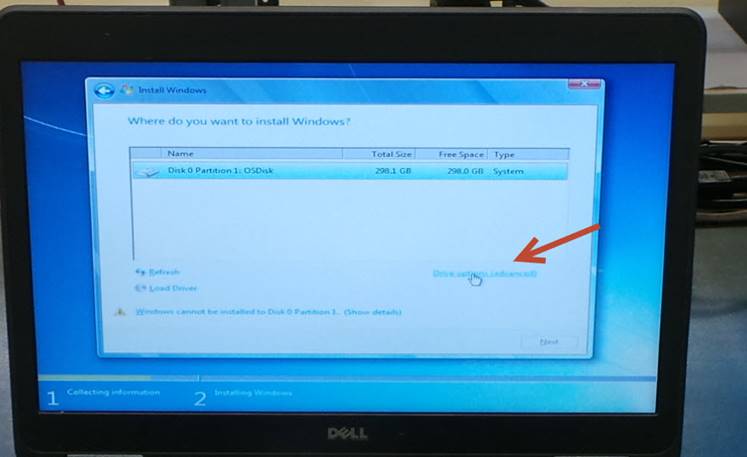
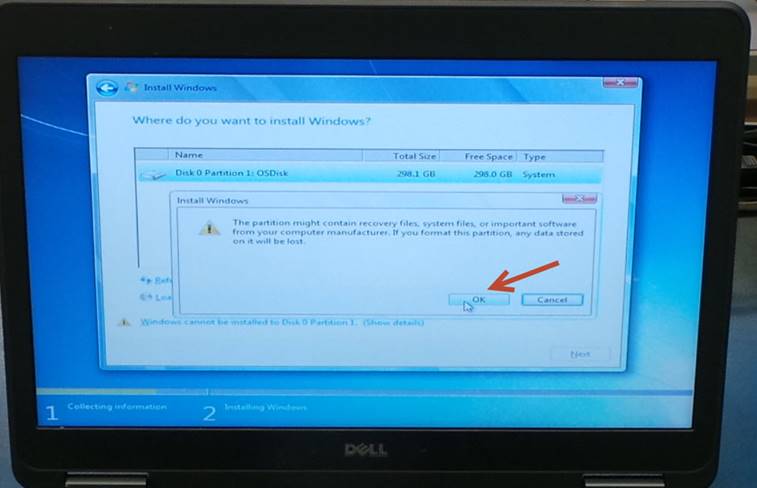
Seleccione – Select Format

Seleccione – Select OK
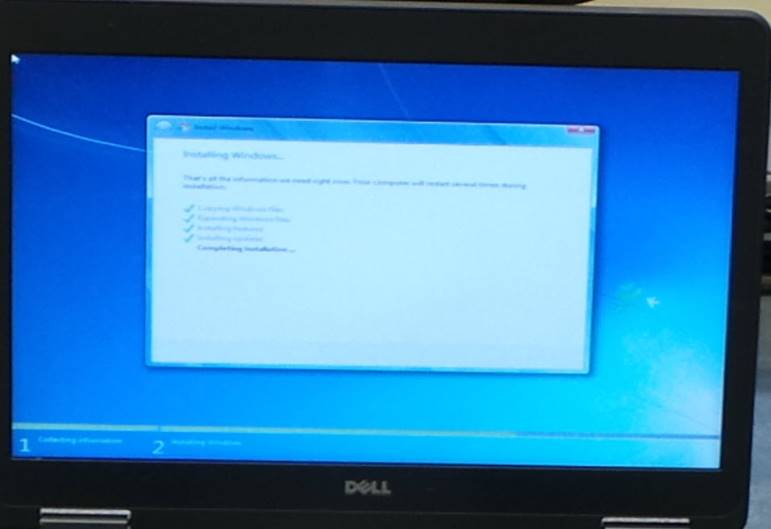
Espere a que la instalación sea completada.
Wait for the installation to complete.
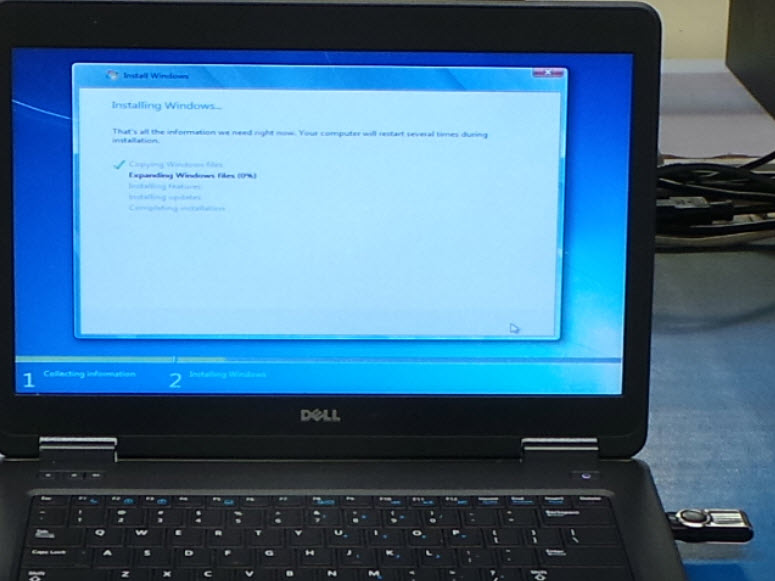
La instalación continuara.
The installation will continue.
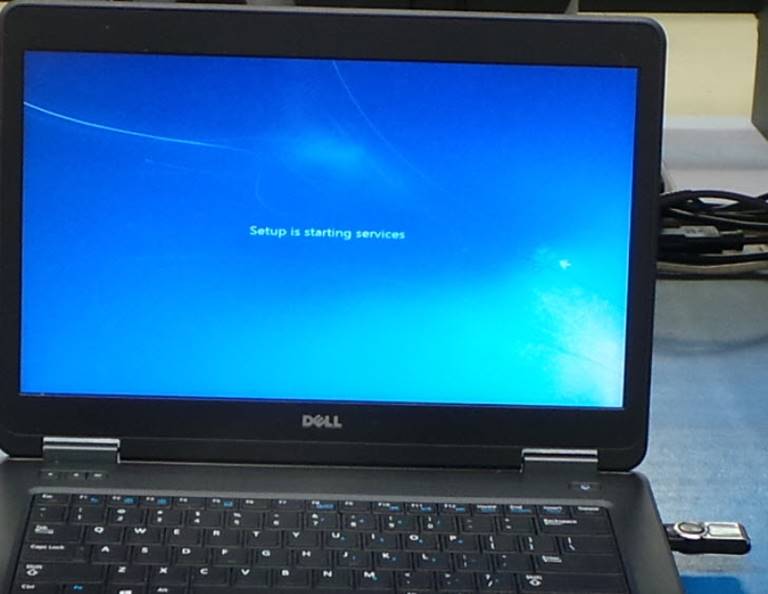
Espera a que termine la instalación.
Wait for the installation to finish.
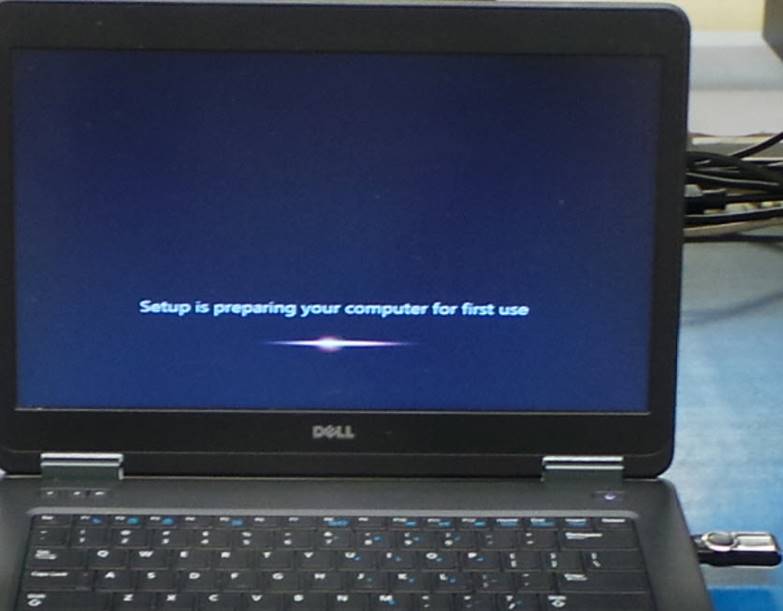
La unidad se reiniciará.
The unit will restart.
Asigne el nombre Admin y seleccione Next.
Give the name Admin and select Next.
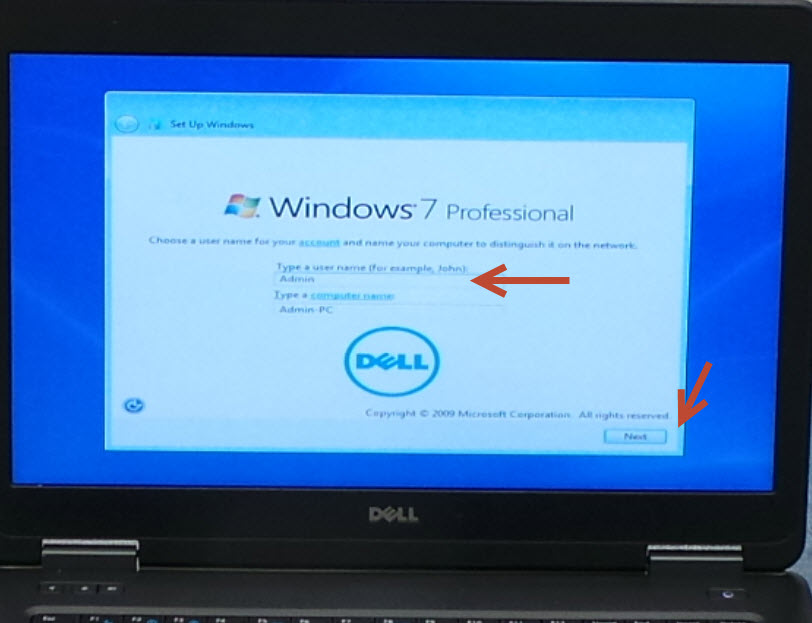
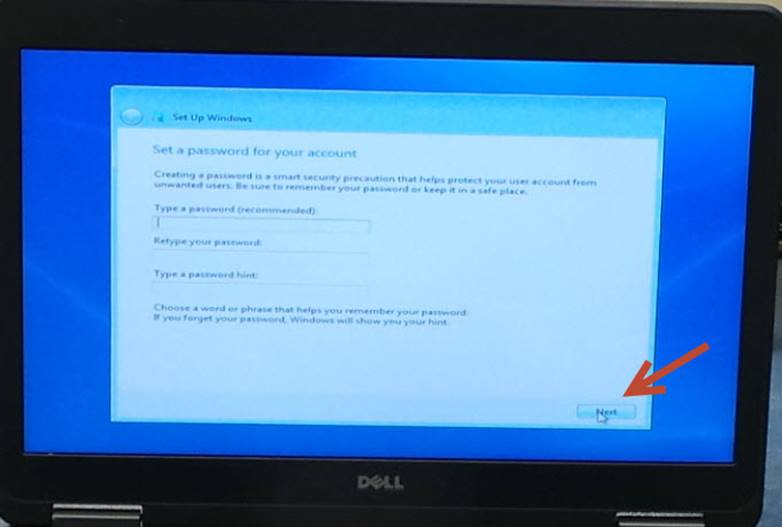
Seleccione – Select Next
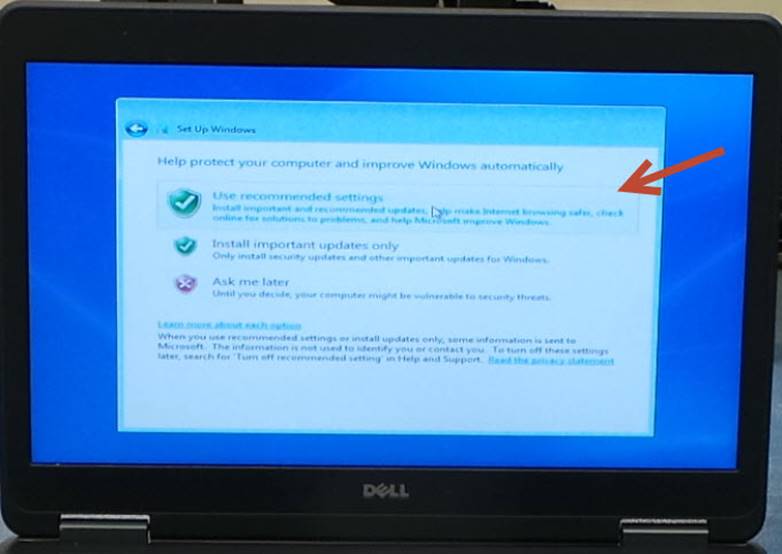
Seleccione – Select Use recommended settings
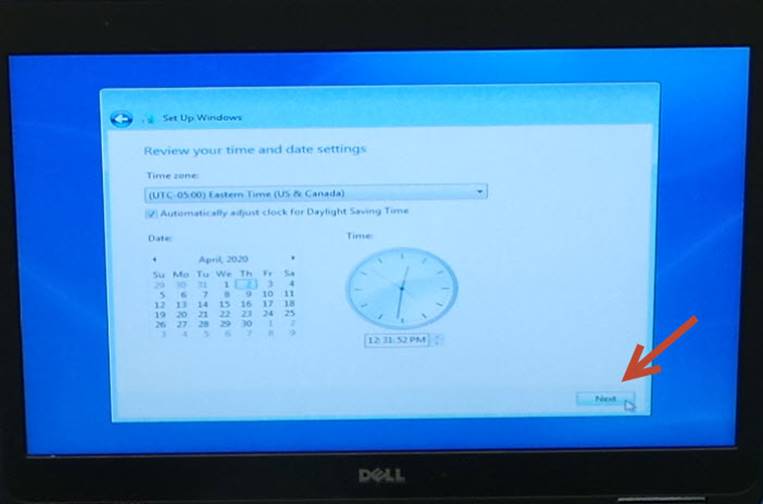
Configure la fecha y la zona horaria, la zona horaria debe ser Eastern Time.
Set the date and time zone, the time zone should be Eastern Time.
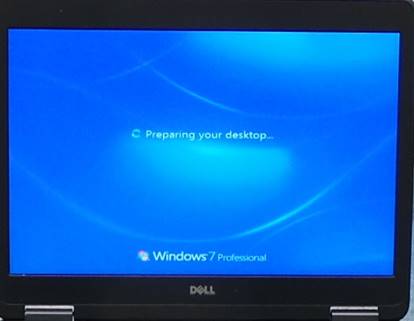
Espere a que termine la instalación.
Wait for the installation to finish.
|
|
|

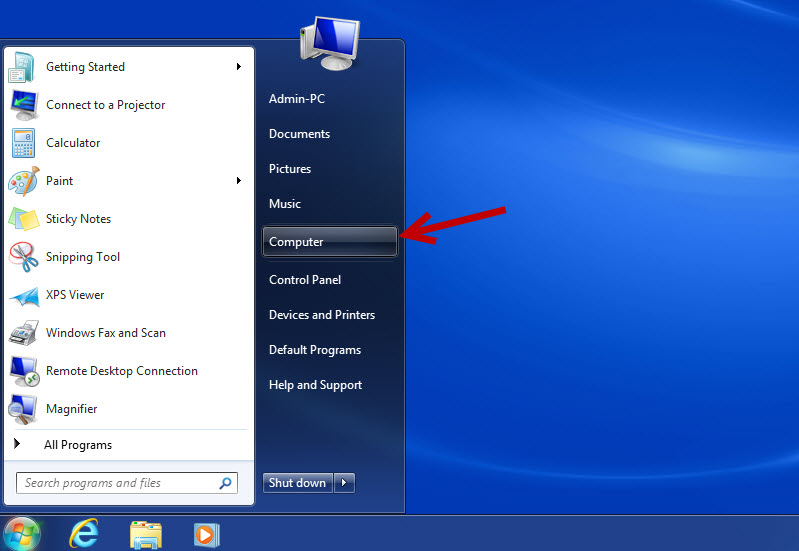
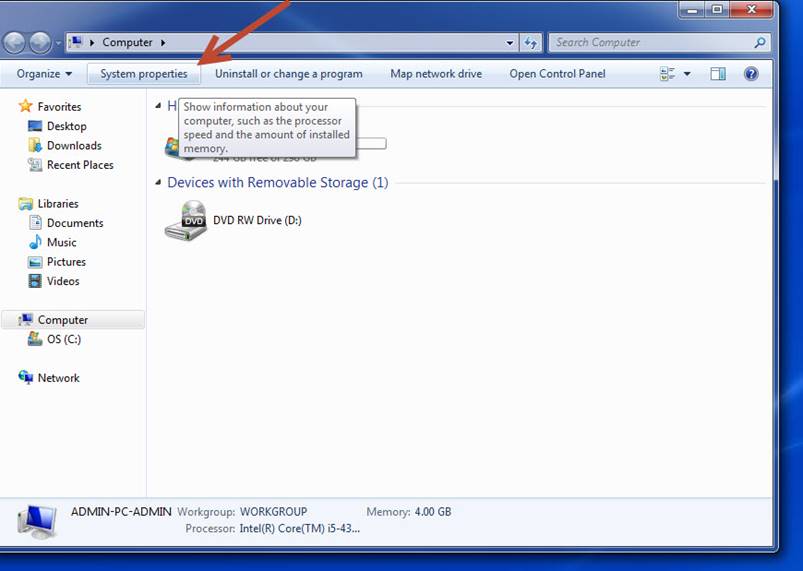
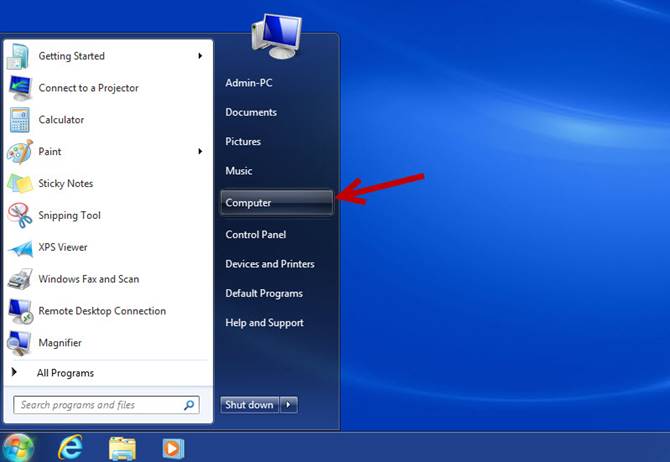
Seleccione Inicio y luego Computer.
Select Start and then Computer.
Seleccione – Select System properties
Seleccione – Select Device Manager
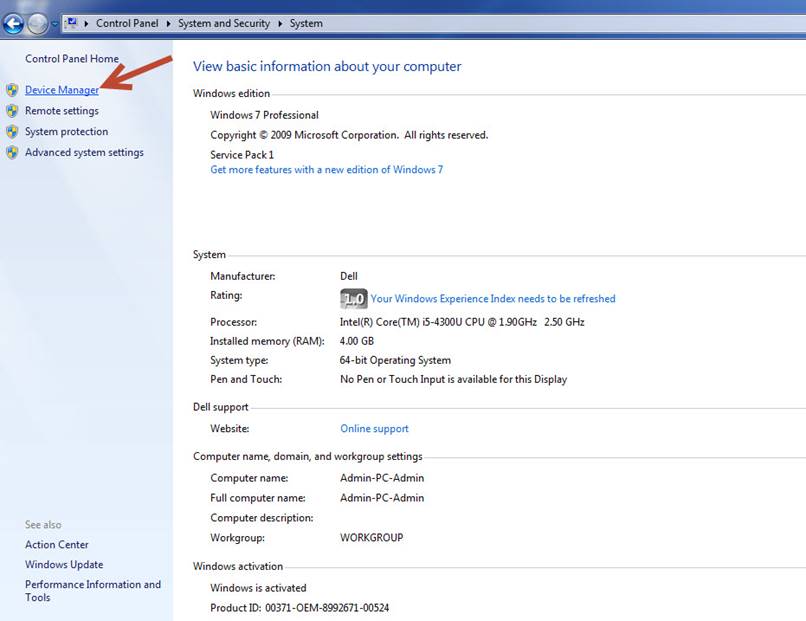
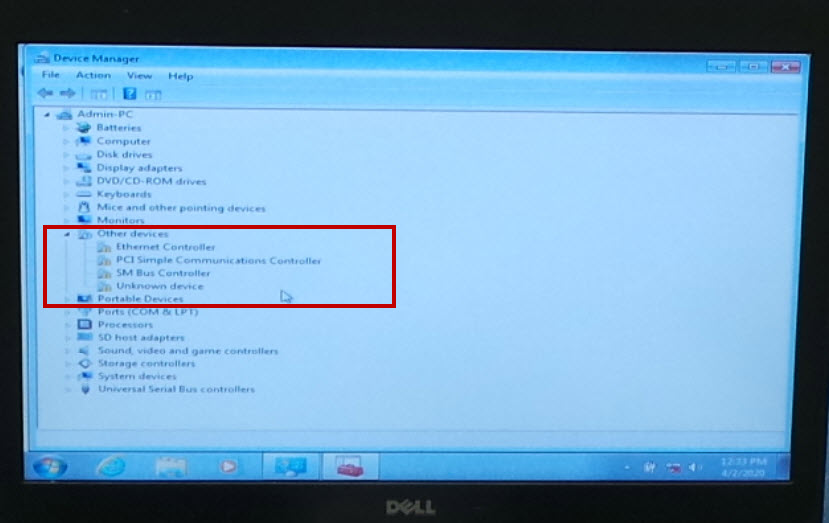
Revise si se requiere la instalación de algún controlador.
Check if driver installation is required.
Descargue e instale los controladores faltantes.
Download and install the missing drivers.
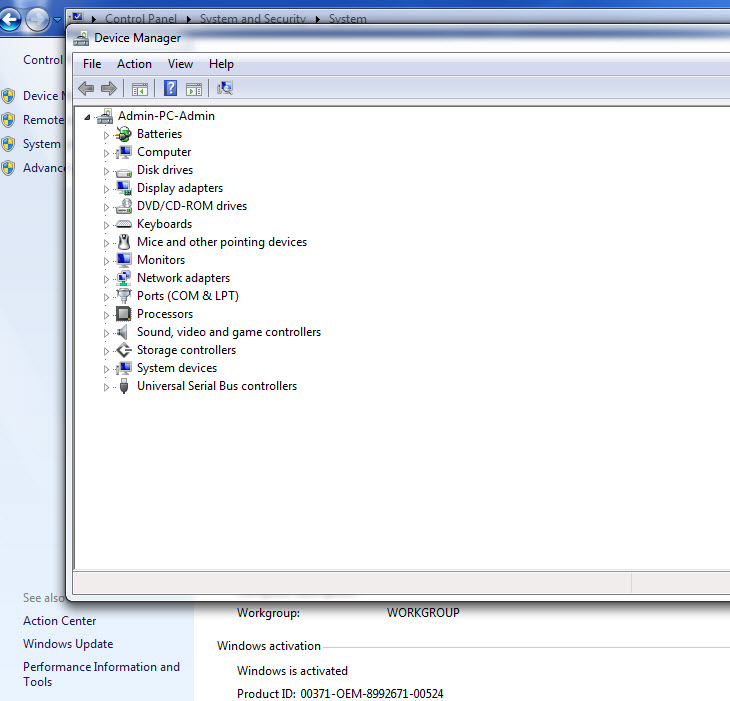
Revise nuevamente para asegurarse de que estén instalados correctamente todos los controladores.
Check again to make sure all drivers are installed correctly.
Cierre la ventada de Device Manager.
Close the Device Manager window.
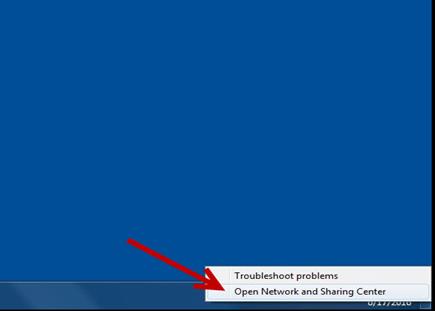
Instale el cable al Puerto de Internet, localice y ejecute Open
Network and Sharing Center.
Install the Ethernet cable, then select Open Network and
Sharing Center.
|
|
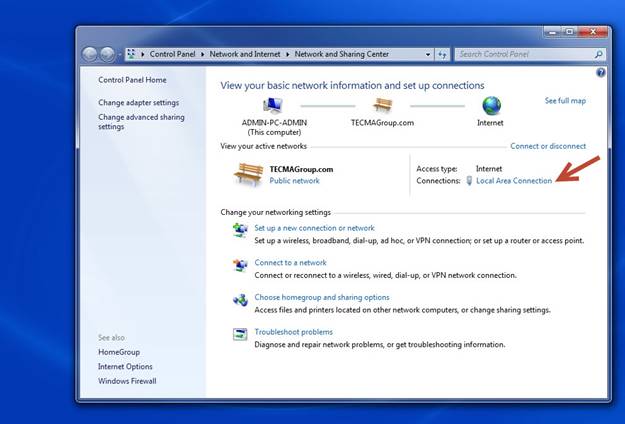
Luego seleccione Local Area Connection.
Then select Local Area Connection.
|
|
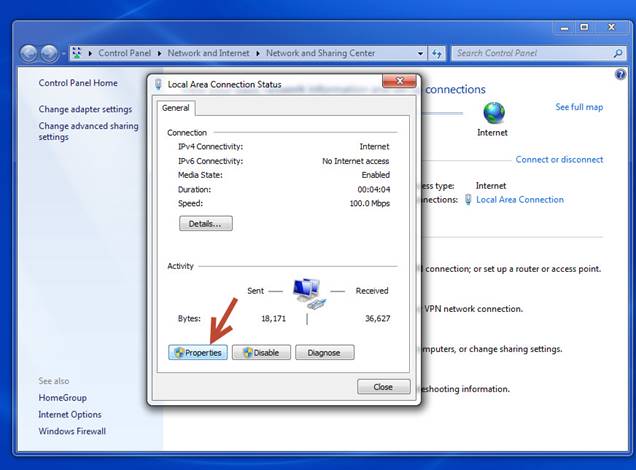
Seleccione Properties.
Select Proprieties.
|
|
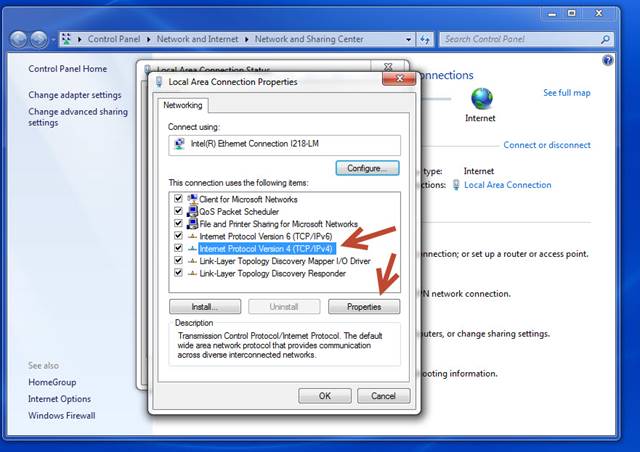
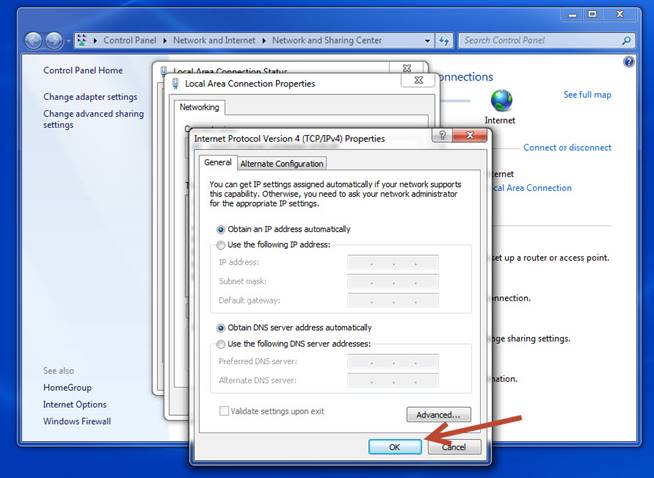
Seleccione Internet Protocol Version 4, luego seleccione Properties.
Select Internet Protocol Version 4, then select Properties.
|
|
Verifique que la opción DHCP este habilitado.
Verify that the DHCP option is enabled.
|
|
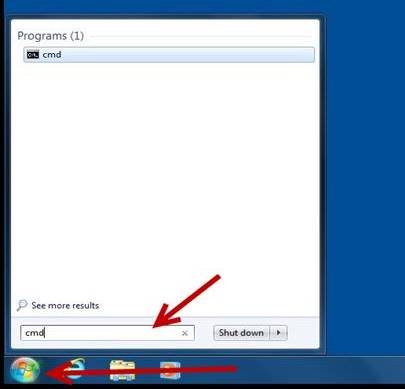
Diríjase a Inicio y escriba cmd en la barra del buscador, luego presione la tecla Enter.
Go to START and type cdm, then press the enter key.
|
|
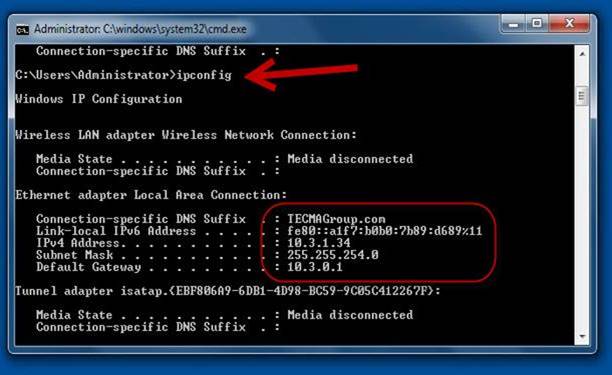
Escriba el comando: ipconfig y presione la tecla Enter, verifique que la unidad se conecte a la red de TECMA.
Enter the command: ipconfig, check that the unit is connected to TECMA network.
|
|
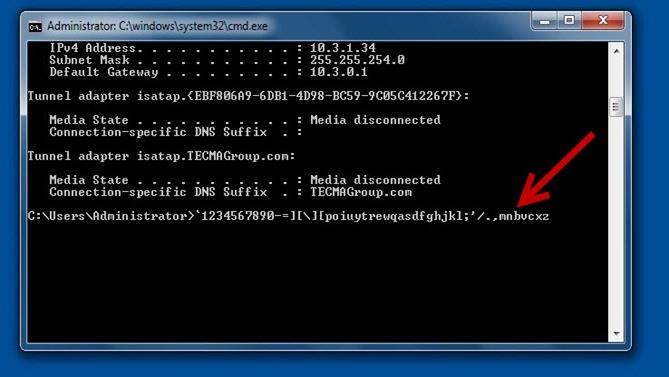
Ahí mismo en el recuadro del command prompt verifique que todas las teclas funcionan correctamente, presione todas las teclas y verifique que aparezcan en la pantalla.
In the command prompt box verify that all the keys work correctly, press al the keys and verify that they appear on the screen.
|
|
|
Seleccione Inicio y luego Computer. Select Start and then Computer.
Seleccione – Select System properties
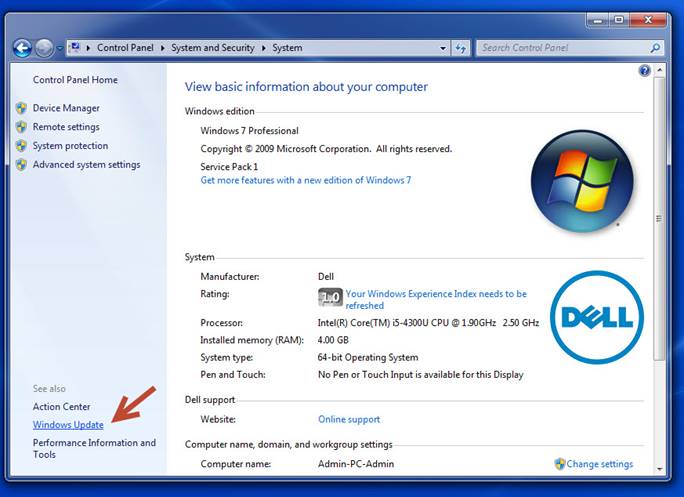
Seleccione – Select Windows update
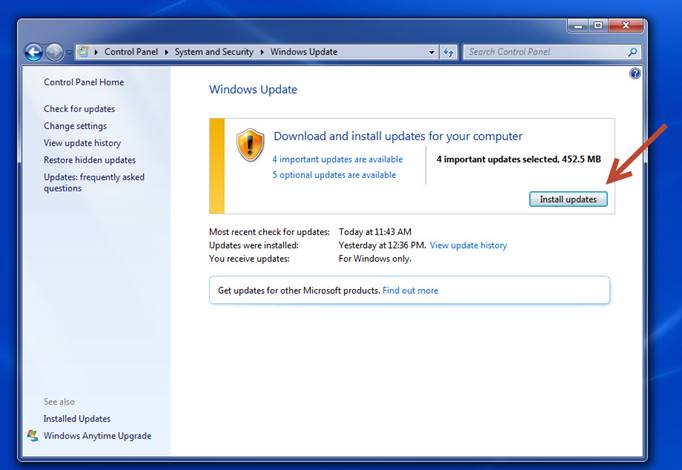
Seleccione Install updates en caso de que exista alguna actualización disponible. Select Install updates in case there is an update available.
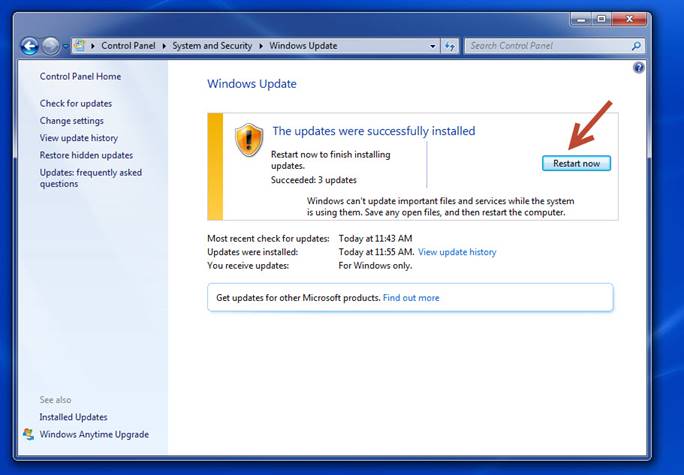
Seleccione Restart now para que se instalen las actualizaciones. Select Restart now to have updates installed.
|

Verifique que el Puerto VGA funciona correctamente, instale un monitor externo y verifique que el mismo video del monitor de la computadora es desplegado en el monitor externo.
Verify that the VGA port works correctly, install an external monitor and verify that the same video from the computer monitor is displayed on the external monitor.
|
|
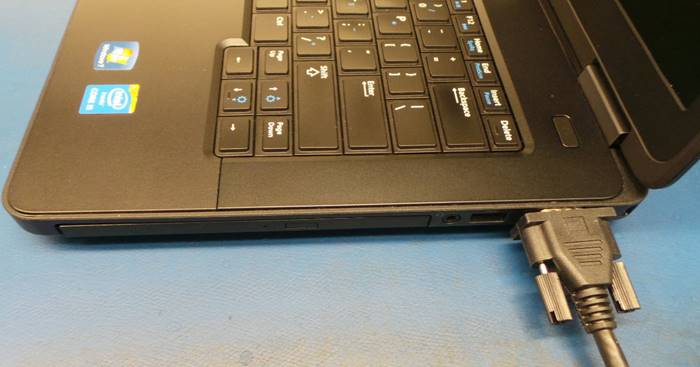
Utilizando un ratón de interfaz USB verifique que todos los puertos USB funcionan correctamente.
Using a USB interface mouse verify that all USB ports work correctly.
|
|

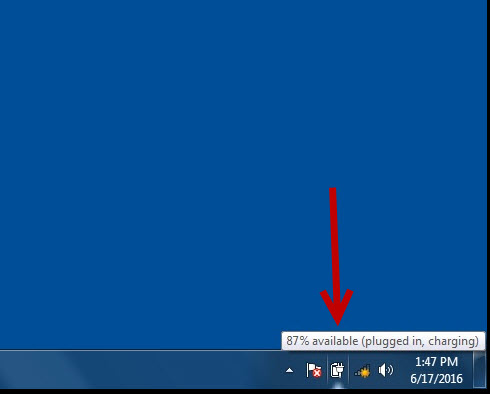
Verifique la carga de la batería, en caso de que sea menos del 100% instale la fuente de poder para que se empiece a cargar la batería hasta que alcance el 100% requerido.
Check that the battery charging, install the power supply until it reaches the 100% required.
|
|
Apague la unidad.
Turn the unit off.
ASEGURAMIENTO DE CALIDAD / QUALITY ASSURANCE
Solicite a una inspectora de calidad que revise la unidad. Si la unidad pasa todas las pruebas realizadas por la inspectora de calidad será enviada al área de empaque.
Ask a quality inspector to check the unit. If the unit passes all tests will be sent to the packing area.
|
|
WI#: 1301 DELL E5470 |
Originator: S Anaya 7/22/20 |
||||
|
Rev: 01 |
Rev Date: 7/23/20 |
Name: K Tovar |
Update: Translation |
Next Review: NA |
Approval: Tom St John |
|